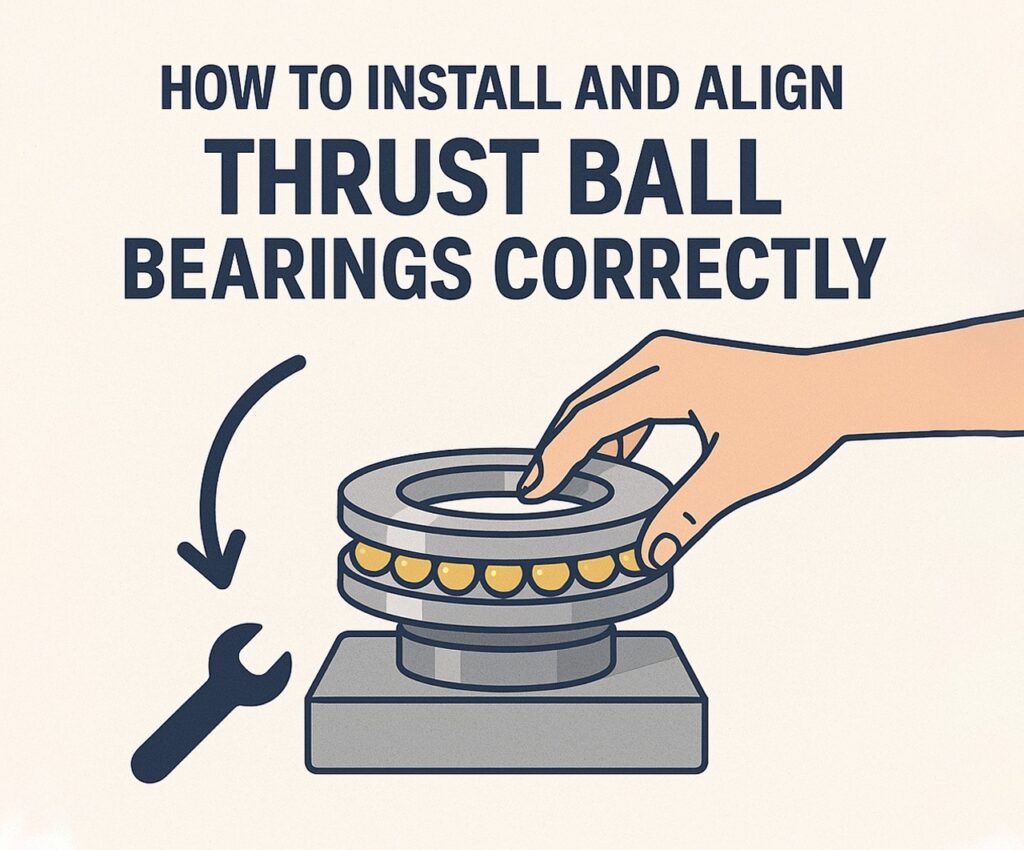
Proper installation and alignment of thrust ball bearings are vital for achieving optimal load distribution, performance, and lifespan in rotating equipment. Whether you’re handling systems that involve a deep groove ball bearing thrust load, selecting a deep groove thrust ball bearing for moderate-speed applications, or setting up a double direction thrust ball bearing to handle axial loads from both directions, precision matters. Inadequate installation not only causes mechanical issues but can also lead to catastrophic failure in industrial or automotive assemblies.
This comprehensive guide will walk you through everything you need to know to correctly install and align thrust ball bearings—from preparation and tool selection to alignment procedures, preload, and post-installation checks. Know More
Understanding Thrust Ball Bearings and Their Load Handling
Thrust ball bearings are designed to support axial loads and are not typically used for radial loads. However, in many mechanical systems, there’s often a deep groove ball bearing thrust load component, especially where some axial loading interacts with radial bearing systems.
A deep groove thrust ball bearing is a special type that provides a hybrid solution—handling both moderate radial and axial forces efficiently. Meanwhile, double direction thrust ball bearings are ideal for systems where axial load reversals are frequent, such as in lathe spindles, vertical pumps, and gear reducers.
Types of Thrust Ball Bearings:
- Single Direction: Supports axial load in one direction only
- Double Direction: Supports axial loads in both directions
- Deep Groove Variants: Combine axial load support with radial load capacity
Pre-Installation Checklist
Before installation, ensure that:
- Shaft and housing surfaces are clean and free of burrs
- The bearing is free of visible defects or contamination
- All mounting tools and alignment fixtures are ready
For best results, pre-lubricate the deep groove thrust ball bearing with high-quality grease or oil, depending on the speed and load profile.
Tools and Materials Needed
- Clean lint-free cloths or wipes
- Bearing heater (if interference fit is required)
- Bearing fitting tools or arbor press
- Micrometers or calipers
- Torque wrench
- Dial indicators for axial runout check
- Preload setting tools
Using the right tools reduces the risk of misalignment, scoring, and overheating—especially in compact systems using double direction thrust ball bearings.
Installation Procedure for Single and Double Direction Thrust Ball Bearings
Step 1: Identify Bearing Components
A thrust ball bearing typically includes:
- Shaft washer (inner ring)
- Housing washer (outer ring)
- Ball and cage assembly
In a double direction thrust ball bearing, there are two ball-cage assemblies and three washers: two shaft washers and one housing washer.
Step 2: Shaft and Housing Fit
- Shaft washers should have a light interference fit or slip fit, depending on rotational speed
- Housing washers are generally seated with a loose fit
- Ensure concentricity between the shaft and housing to minimize eccentricity
Step 3: Heat the Bearing if Necessary
- If interference fit is required, gently heat the shaft washer (not the cage or balls) to 80–100°C
- Never apply open flame; use an induction heater or controlled oven
Step 4: Mounting
- Place the housing washer in the stationary housing side
- Align and press the shaft washer onto the shaft shoulder
- Assemble the ball-cage element between the washers, ensuring uniform contact
For deep groove thrust ball bearings, be extra cautious with radial alignment to ensure radial load components don’t induce skewed contact.
Step 5: Apply Preload (if required)
Some systems require a preset preload to minimize endplay and improve stiffness. Use spring washers or torque control to apply consistent axial force.
Aligning the Thrust Ball Bearing
Improper alignment leads to uneven load distribution and premature wear. Use the following techniques:
Radial Alignment:
- Use dial indicators to check shaft and housing concentricity
- Shim housing or adjust seat as needed to bring tolerance within ±0.01 mm
Axial Alignment:
- Position bearing in its axial seat without lateral tilting
- Check that load lines pass through the center axis of the bearing for maximum efficiency
This step is especially critical for systems using double direction thrust ball bearings, where any axial misalignment reduces capacity in one direction.
Lubrication Guidelines
Correct lubrication reduces friction, wear, and heat:
Grease Lubrication:
- Ideal for medium-speed, enclosed systems
- Fill bearing cavity 30–50% with lithium or calcium-based grease
Oil Lubrication:
- Recommended for high-speed applications
- Use ISO VG 68 or VG 100 oils, depending on speed/load
- Consider splash or circulating oil systems
Ensure that the lubricant is compatible with seals and cage materials. For a deep groove ball bearing thrust load configuration, select a lubricant that also protects radial contact surfaces.
Post-Installation Checks
After the thrust ball bearing is installed:
- Rotate the shaft slowly to feel for smoothness
- Measure axial play and compare it to design tolerance
- Perform a break-in run at low speed for 30 minutes
- Re-check torque and axial alignment after cool-down
For deep groove thrust ball bearing applications, ensure that there is no radial movement beyond the design limit.
Common Mistakes to Avoid
- Incorrect Washer Placement: Placing shaft and housing washers in reverse leads to axial misalignment
- Insufficient Preload: Results in excessive endplay and noise
- Excessive Lubrication: Can lead to overheating at high speeds
- Ignoring Radial Load: In systems with a deep groove ball bearing thrust load, neglecting radial constraints can skew alignment
- Improper Shaft Fit: Leads to relative motion between the shaft and bearing, causing fretting corrosion
Troubleshooting and Failure Analysis
Symptoms of Poor Installation:
- Vibration or chattering noise
- Axial or radial wobble
- Premature wear on bearing raceways
- Heat discoloration on shaft or housing
In systems using double direction thrust ball bearings, uneven wear on one side often indicates axial misalignment or uneven preload.
Advanced Alignment Techniques
For high-precision systems:
- Use laser shaft alignment tools
- Employ finite element modeling to predict load zones
- Utilize integrated condition monitoring systems to track alignment and preload during operation
These are particularly useful in advanced mechanical systems with deep groove ball bearing thrust load components, such as CNC spindles and robotic actuators.
Recommended Applications
| Application | Recommended Bearing Type |
| Vertical Pumps | Double direction thrust ball bearing |
| Gearboxes with axial load | Deep groove thrust ball bearing |
| High-speed rotary tables | Single direction precision thrust bearing |
| Mixed radial and axial load spindles | Deep groove ball bearing thrust load |
Each of these configurations requires not only the correct bearing type but also proper installation and alignment for long-term success.
Maintenance Schedule
- Weekly: Visual inspection and noise monitoring
- Monthly: Axial play check and temperature logging
- Quarterly: Lubrication top-up or change
- Yearly: Full disassembly, inspection, and alignment verification
Include spare deep groove thrust ball bearing and mounting tools in maintenance kits for high-reliability systems.
Final Thoughts
Installing and aligning thrust ball bearings correctly is both a science and a skill. Whether you’re dealing with a high-speed spindle using a deep groove thrust ball bearing, a heavy-duty setup with a deep groove ball bearing thrust load, or a precision assembly requiring a double direction thrust ball bearing, attention to detail is your best asset.
With the right tools, knowledge, and process, you can ensure smooth operation, maximize lifespan, and prevent premature bearing failure.

