
When working with compact, high-load rotating assemblies, few components are as efficient and space-saving as drawn cup needle bearings. Whether you’re installing an uxcell axk2035 needle roller bearing, managing loose needle rollers, or assembling systems that rely on loose needle roller bearings, proper installation is key to ensuring performance, load capacity, and longevity. These precision components may be small, but the details of how they are mounted make all the difference.
This guide walks you through the steps and best practices for installing drawn cup needle bearings the right way, with tips tailored for professionals and DIY engineers alike. Know More
What Are Drawn Cup Needle Bearings?
Drawn cup needle bearings are thin-walled, outer-shell needle bearings that maximize load capacity while minimizing radial space. They come with or without inner rings and are used widely in automotive, power tools, and gearboxes.
Key benefits:
- Lightweight, compact design
- High radial load capacity
- Easy to install into housings
Popular versions like the uxcell axk2035 needle roller bearing come pre-packed with grease or are designed for low-lubrication environments.
For customized setups, many applications use loose needle rollers or loose needle roller bearings to achieve specific tolerances or cage-free operation.
Step-by-Step Installation Guide
1. Inspect All Components
Before beginning installation, inspect the housing, shaft, and bearing components:
- Ensure housing bore is round, clean, and within tolerance
- Check that the shaft is smooth and free of nicks or burrs
- Confirm that loose needle rollers match the design specs
Even small particles or shaft damage can reduce the lifespan of your bearing.
2. Select the Right Tools
For installing drawn cup bearings:
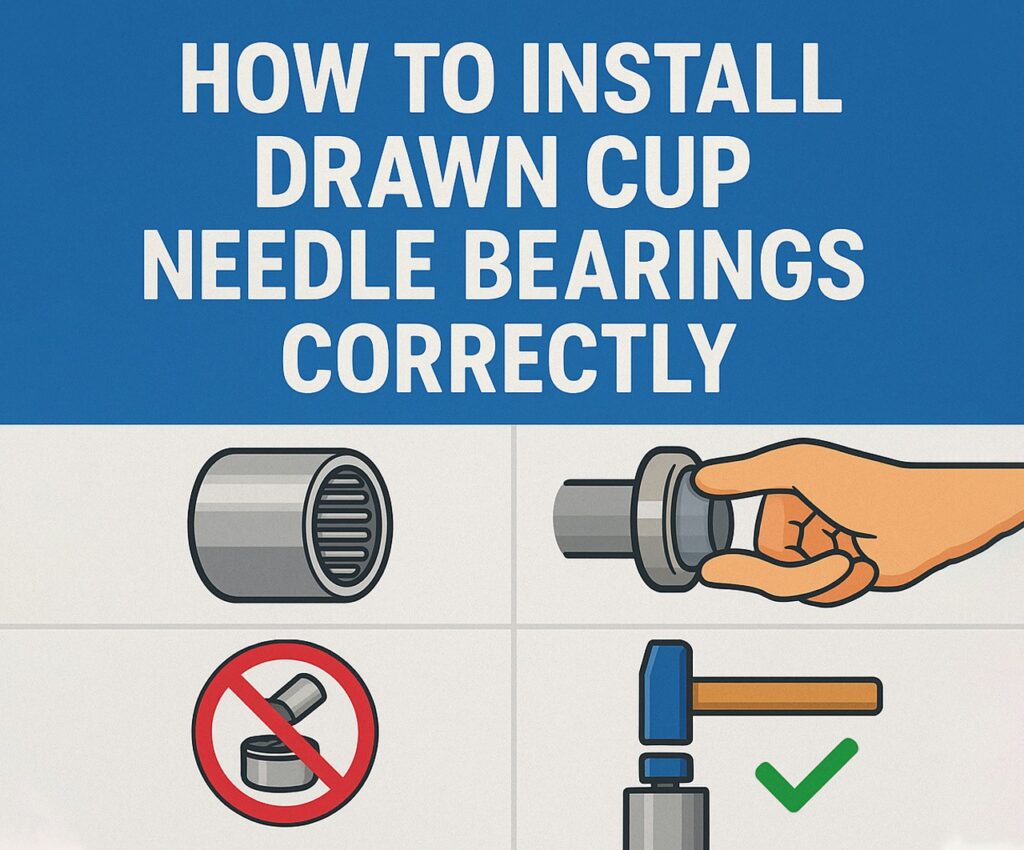
- Use a press fit tool or arbor press
- Do not hammer or tap the outer shell
- Use a bearing driver that matches the outer diameter
For loose needle roller bearings, precision tweezers and a cage alignment tool are recommended.
3. Align and Press the Bearing
Carefully align the bearing with the bore before applying force. Misalignment can cause:
- Shell deformation
- Skewed rollers
- Reduced internal clearance
Apply even pressure and press the bearing slowly into place using your selected tool.
Pro Tip: Never apply force to the rollers directly—always press on the outer shell of the bearing.
4. Check Fit and Free Rotation
Once installed, rotate the shaft by hand to:
- Confirm smooth rotation
- Ensure no binding or vibration
- Check for uniform clearance
This is especially important in smaller parts like the uxcell axk2035 needle roller bearing, where tolerances are tighter.
Installing Loose Needle Rollers: Precision Matters
When working with loose needle rollers, it’s critical to:
- Apply even spacing (usually within a cage or race)
- Use an alignment ring or jig to hold them in place
- Pre-lubricate with light oil or assembly grease
Best Practices:
- Avoid using different roller sizes in the same setup
- Always check the total roller height vs. race clearance
- Replace worn rollers rather than mix new with old
Custom applications like aerospace actuators or race-grade transmissions may use loose needle roller bearings to minimize friction and optimize fit.
Common Installation Mistakes to Avoid
- Hammering the Bearing In Hammering can deform the drawn cup, especially in bearings like the uxcell axk2035 needle roller bearing, which has a thin outer shell.
- Overlooking Shaft Tolerances If the shaft is too small or large, it can cause excessive play or compression.
- Skipping Lubrication Even pre-greased bearings can benefit from additional lubrication, especially in high-speed or high-load environments.
- Ignoring Housing Material Soft metals may deform under press-fit force. Always verify housing specs before pressing.
- Installing Misaligned Rollers With loose needle rollers, even slight misalignment can increase wear or cause jamming.
Lubrication Tips
Lubrication is crucial to bearing longevity:
- Use high-pressure grease or light oil, depending on speed and load
- Re-lubricate periodically for open or unsealed bearings
- For loose needle roller bearings, coat each roller before installation
Avoid over-lubricating, as excessive grease can cause heat buildup in high-speed systems.
Sealed vs. Open Needle Bearings
Many drawn cup bearings are available in both sealed and open versions:
- Sealed: Keeps contaminants out and grease in; great for dirty or wet environments
- Open: Easier to re-lubricate; preferred for high-speed or high-temperature uses
For example, sealed variants of the uxcell axk2035 needle roller bearing are used in electric motor gearboxes exposed to dust or splash.
Final Inspection
After installation, always:
- Rotate the assembly to test for noise and smoothness
- Re-check endplay or axial clearance
- Monitor initial temperature rise during break-in
If you’re working with loose needle roller bearings, visually inspect roller alignment and measure radial runout if precision is critical.
Storage and Handling
Improper storage can damage needle bearings before they’re ever installed.
- Keep bearings in original packaging until use
- Avoid contact with moisture and corrosive substances
- Don’t store loose needle rollers in unsealed containers
Even slight rust or debris can compromise function in tight-tolerance bearings.
Summary Checklist
Before finalizing your installation:
- Confirm shaft and housing tolerances
- Use correct press-fit tools
- Align and press without deformation
- Apply proper lubrication
- Test rotation and endplay
- Inspect for vibration or misalignment
Whether you’re handling a small-scale uxcell axk2035 needle roller bearing or custom-fit loose needle roller bearings, precision and patience always pay off.
Final Thoughts
Installing drawn cup needle bearings correctly is more than a procedural task—it’s a cornerstone of machine reliability. From off-the-shelf solutions like the uxcell axk2035 needle roller bearing to high-precision systems built with loose needle rollers, proper technique ensures optimal performance.
Understanding your bearing type, respecting alignment and tolerance specs, and using the right tools can drastically reduce wear, friction, and failure rates. In short, it’s not just about getting the bearing in place—it’s about getting it right.