
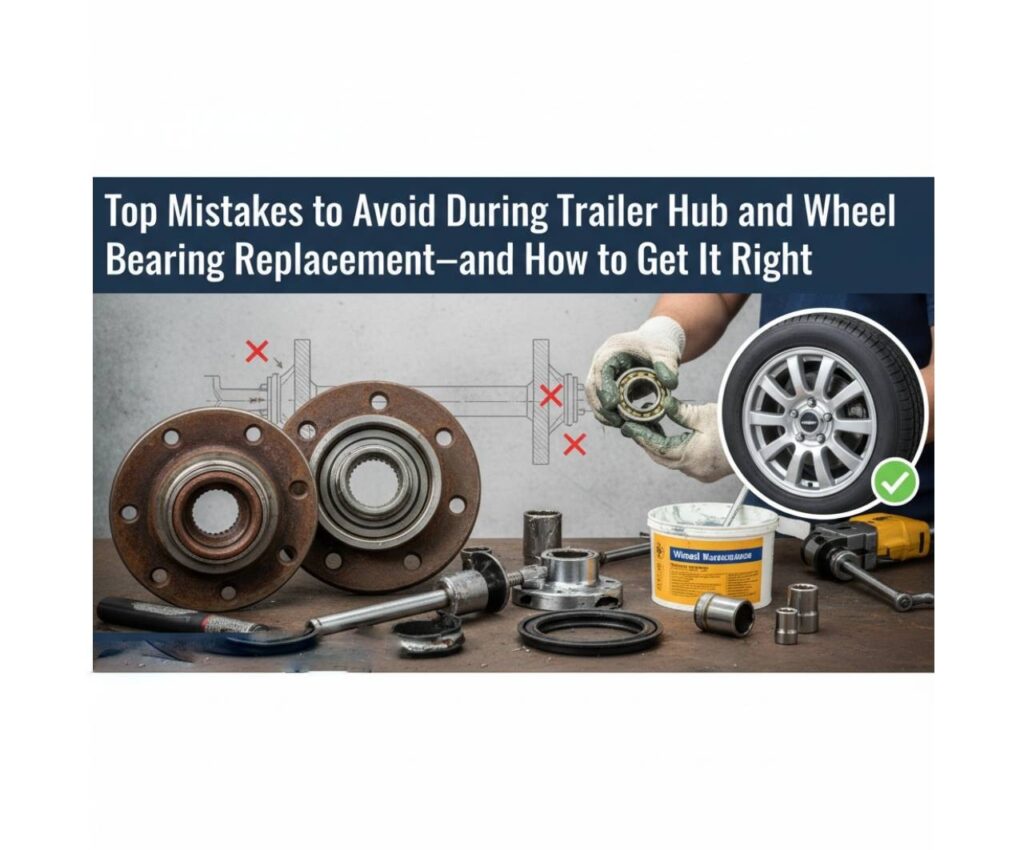
When it comes to the replacement of wheel bearing, ensuring proper installation and maintenance is critical to the performance and safety of your trailer. Whether you’re servicing a boat hauler, utility trailer, or RV, mistakes during trailer hub assembly can lead to serious issues on the road. Improperly fitted trailer hubs, incorrect torque, or skipping seal inspections are just a few of the common errors that can result in premature wear, wheel lock-up, or even catastrophic failure.
In this article, we’ll break down the top mistakes to avoid when replacing trailer bearings and hubs—and share expert tips to ensure your next replacement of wheel bearing or trailer hub assembly job is done right the first time. Know More
Why Getting Trailer Bearing Replacement Right Is So Important
The trailer hubs are the heart of your trailer’s rolling system. Inside the hub, bearings reduce friction, absorb load, and support smooth rotation. When these components are neglected or incorrectly installed, the result can be disastrous—ranging from excessive tire wear and noise to dangerous overheating and wheel detachment.
Whether you’re a mechanic, DIY trailer owner, or OEM installer, knowing the proper process and avoiding key pitfalls during the replacement of wheel bearing ensures long-lasting performance and safety.
Mistake #1: Not Cleaning the Hub Thoroughly Before Reassembly
Failing to clean the hub cavity properly is one of the most common and damaging mistakes during a trailer hub assembly.
Why It Matters:
Old grease, dirt, or metal shavings left in the hub can contaminate new grease and grind against new bearings—shortening their lifespan significantly.
How to Get It Right:
- Use a degreaser and shop towels to remove all old grease.
- Inspect the inside surface of the trailer hubs for scoring, pitting, or rust.
- Dry the area thoroughly before installing new bearings or grease.
Mistake #2: Reusing Old or Damaged Seals
Many people attempt to reuse the rear seal during a replacement of wheel bearing, but doing so is a high-risk move that compromises the integrity of the entire hub.
Why It Matters:
Old seals may have hardened, cracked, or become misshapen, allowing water and debris to enter the hub—especially in marine or off-road environments.
How to Get It Right:
- Always install a new high-quality grease seal with each trailer hub assembly.
- Choose the correct seal size and type (double-lip is often best for trailers).
- Lightly grease the seal edge before installation to prevent friction burns.
Mistake #3: Improper Greasing of Bearings
Under-greasing, over-greasing, or using the wrong grease altogether during a replacement of wheel bearing can result in overheating, bearing failure, or contamination.
How to Get It Right:
- Use high-temperature wheel bearing grease (marine-grade for boat trailers).
- Fully pack the bearings by hand or with a bearing packer until grease squeezes through the rollers.
- Grease the inside of the trailer hubs lightly to ensure smooth operation.
Pro Tip: Never mix different grease types. If you’re unsure, clean out all old grease and start fresh.
Mistake #4: Incorrect Torque on the Spindle Nut
The spindle nut secures the entire trailer hub assembly. Too loose, and you’ll get wheel play. Too tight, and you risk crushing the bearing or overheating it.
How to Get It Right:
- Tighten the nut until the hub feels firm, then back it off slightly (1/8 turn is common).
- Secure with a new cotter pin or lock washer.
- Spin the trailer hubs by hand and ensure free, smooth rotation without wobble.
Mistake #5: Mismatching Bearing Sizes or Cup/Cone Combinations
During a replacement of wheel bearing, many DIYers assume bearings are interchangeable or rely on visual size estimation. This is a recipe for failure.
Why It Matters:
Using mismatched inner/outer bearings or cones and races that don’t match leads to poor contact, high friction, and accelerated wear.
How to Get It Right:
- Use micrometers or digital calipers to measure the spindle and race sizes.
- Buy pre-matched trailer hub assembly kits from trusted OEM or wholesale suppliers.
- Cross-reference part numbers and bearing codes (e.g., L44649/L44610 or 25580/25520) for compatibility.
Mistake #6: Ignoring Bearing Race Wear
Some assume that replacing only the bearing is enough. But bearing races are just as important—and just as vulnerable to wear.
How to Get It Right:
- Inspect the race inside the trailer hubs for pitting, grooves, or discoloration.
- Use a brass drift punch or race driver to remove and install new races without damaging the hub.
- Always replace the bearing and race as a set for consistent performance.
Mistake #7: Not Replacing Bearings as a Preventative Maintenance Step
Waiting until a bearing fails can lead to collateral damage to your trailer hub assembly, spindle, and even your trailer frame.
When to Replace:
- Every 12,000–15,000 miles
- At the beginning of every towing season
- When signs of overheating, noise, or grease leakage are present
Mistake #8: Failing to Use the Correct Tools
Trying to remove bearings with screwdrivers, hammers, or makeshift tools can damage your trailer hubs beyond repair.
Essential Tools for Safe and Effective Bearing Replacement:
- Bearing race driver kit
- Torque wrench for spindle nuts
- Bearing packer or hand-pack method
- High-quality grease gun with marine or high-temp grease
Mistake #9: Skipping a Test Run After Installation
Even after a perfect replacement of wheel bearing, skipping the post-installation check can hide problems that only appear under load.
Post-Install Checklist:
- Spin each wheel by hand and listen for grinding.
- Check for play by shaking the wheel at 12 and 6 o’clock.
- Drive for 10–15 miles, then feel the trailer hubs — they should be warm, not hot.
- Re-torque lug nuts and spindle nut after test run.
Mistake #10: Overlooking the Importance of Quality Parts
The market is flooded with low-cost, low-quality trailer hub assembly kits. While attractive in price, they often fail early due to inferior metallurgy, poor heat treatment, or seal failure.
What to Look For in Quality Parts:
- Bearings made from 52100 high-carbon chromium steel
- Precision-machined hubs and races
- Double-lip seals rated for high-speed use
- Manufacturer part numbers and traceability
Working with a trusted OEM or wholesale bearing supplier ensures your customers—and your reputation—stay safe.
Final Thoughts: Getting It Right the First Time
The replacement of wheel bearing and installation of a new trailer hub assembly is more than just routine maintenance—it’s a critical step in ensuring safe, reliable operation for your trailer. By avoiding common mistakes and following industry best practices, you protect not only the mechanical health of your trailer hubs, but also the safety of your haul.
Need OEM-quality bearing kits, hub assemblies, and trailer maintenance parts? We offer complete trailer hub assembly kits, matched bearing and race sets, and expert technical support for DIYers and professional shops. Contact us today for volume pricing, product cross-referencing, and fast fulfillment. Know More